Storage hacks + ingredient layering techniques for real life
Picture this: it’s Tuesday afternoon and you finally open the lunch box you prepped on Sunday with so much hope and enthusiasm. You were going to be healthy this week. You had a plan. And now you’re staring at a sad, soggy mess where your beautiful kachumber salad used to be.
Sound familiar? You are not alone.
Meal prepping lunches is one of the smartest moves you can make for your health, your wallet, and your weekday sanity. But there’s one thing nobody tells beginners clearly enough: how you store food matters just as much as what you cook. The wrong container or the wrong stacking order can turn a genuinely nutritious lunch into a soggy, unappetising disaster.
This guide will fix that. By the time you finish reading, you will know exactly how to prep five days of fresh, flavourful lunches that actually hold up from Sunday to Friday.
Why Does Meal Prep Food Go Soggy in the First Place?
Before we fix the problem, let’s understand it. Food gets soggy for two main reasons:
- Moisture migration – wet ingredients release water over time, and that water travels to drier ingredients like roti, grains, or bread, making them limp and unpleasant.
- Steam trapped in containers – warm food sealed in airtight boxes creates condensation, which drips back onto everything and adds unwanted moisture.
The good news? Both are completely avoidable with a few simple tricks.
Rule 1: Always Cool Food Before Sealing
This is the most overlooked step. When you pack hot food into a container and seal it immediately, the steam has nowhere to go. It condenses on the lid and rains back down onto your food.
The fix is easy: let your cooked food cool at room temperature for 20 to 30 minutes before closing the lid. If you are in a hurry, spread it out on a plate or tray so it cools faster.
| 💡 Nudge Tip Even 15 minutes of cooling time makes a massive difference to texture. Set a timer and use that time to portion other ingredients. |
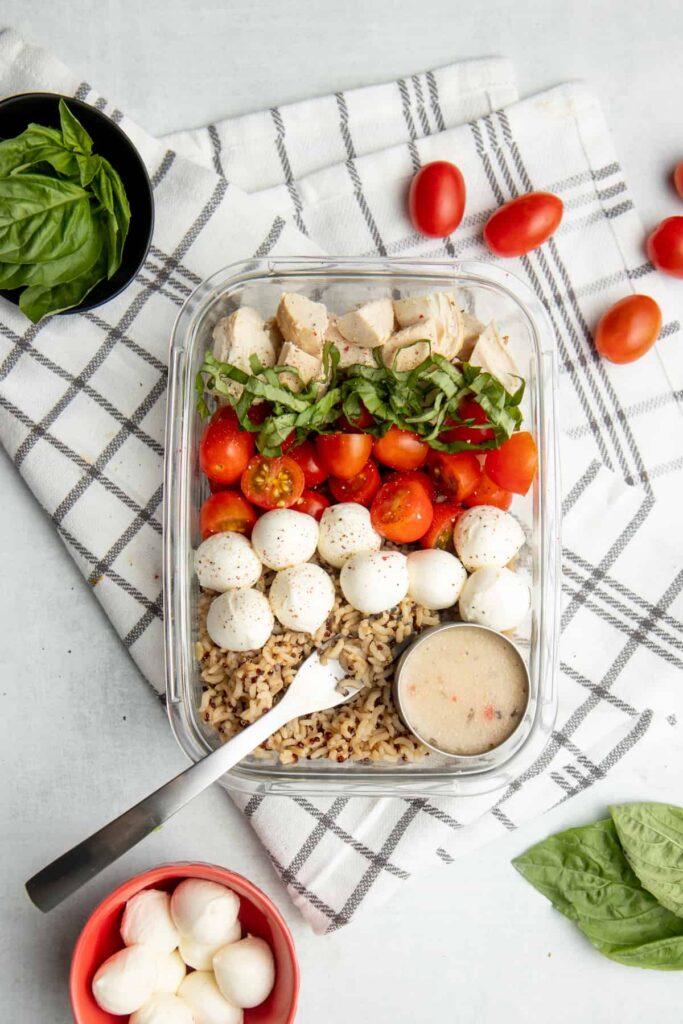
Rule 2: The Layering Technique That Changes Everything
Think of your lunch box like a carefully arranged thali, not a pile. The order in which you place ingredients determines how well they hold up over five days.
The Correct Order (Bottom to Top)
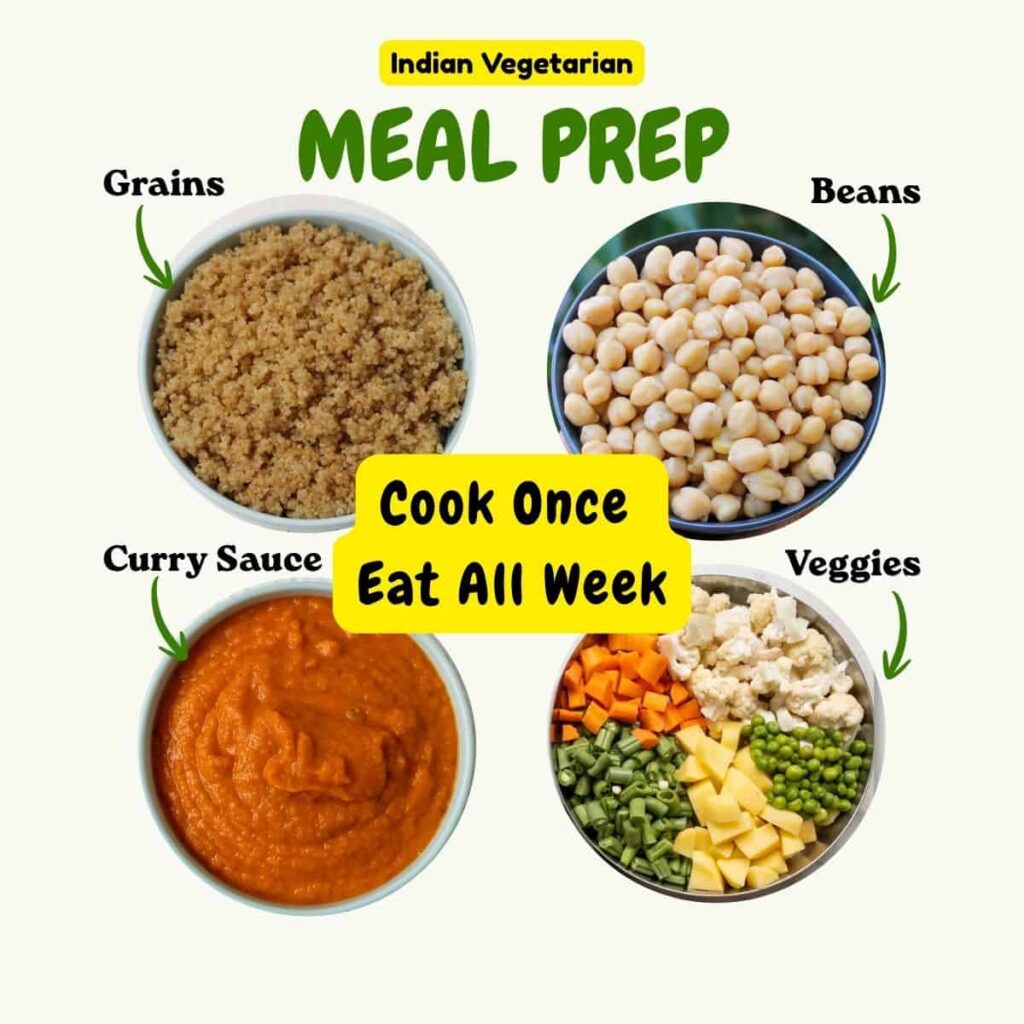
- Heavy grains or proteins first – rice, quinoa, chana, rajma, grilled paneer or chicken. These are the most moisture-tolerant and act as your base.
- Sauces and dressings in the centre or on the side – never directly touching delicate ingredients. Use a small silicone cup or a separate tiny container.
- Roasted or cooked vegetables next – sabzi, roasted sweet potato, sautéed broccoli.
- Fresh, crunchy toppings last – kachumber, cucumber slices, pomegranate seeds, nuts, seeds, or any raw salad components go right on top, added as close to eating time as possible.
| ⚠️ What Not to Do Never pour dressing over a salad you are storing. Never place watery raita or chutney directly on grains. These are the fastest routes to a soggy lunch. |
Rule 3: Separate the Wet from the Dry
This is the golden rule of meal prep. Wet and dry ingredients must live apart until you are ready to eat.
Here is how to make that practical:
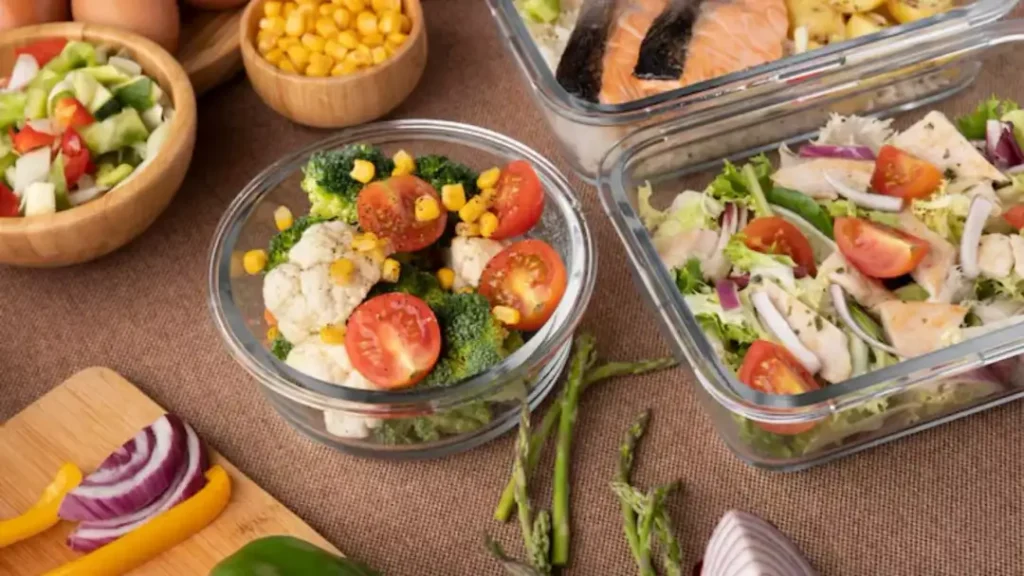
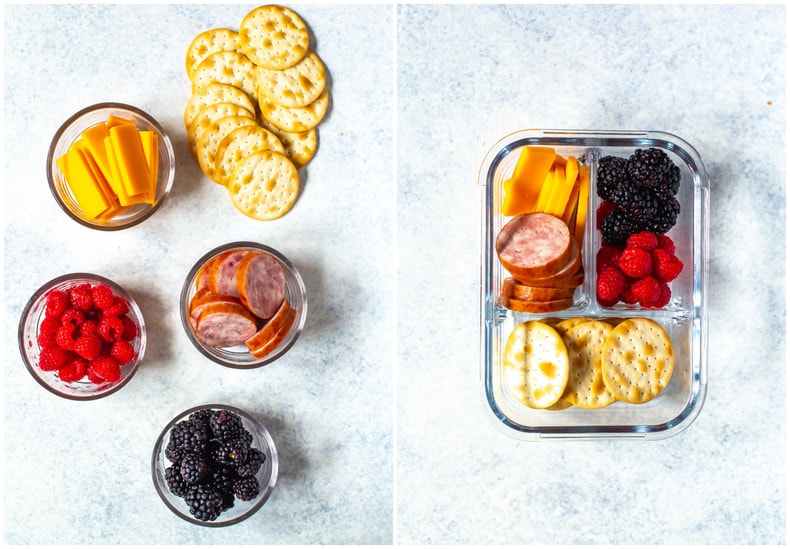
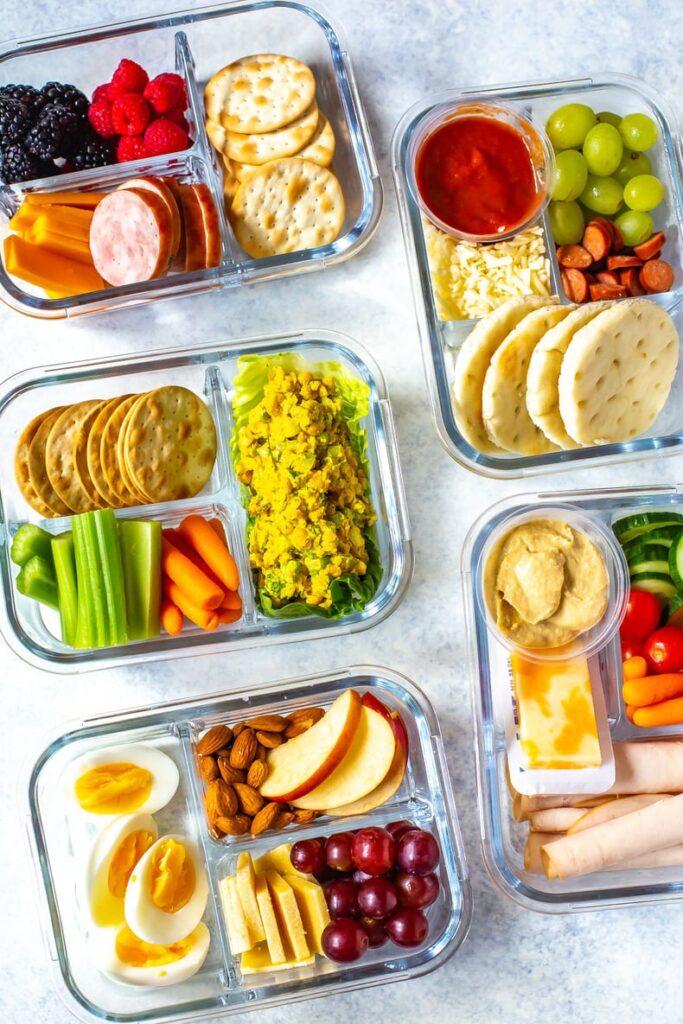
- Use a bento-style box with multiple compartments so daal does not touch roti.
- Pack raita, chutney, or dressings in a small separate container. Even a washed empty jam jar works perfectly.
- If you are packing a wrap or sandwich, keep the filling and the bread or roti separate and assemble at lunchtime. Takes 30 seconds and saves the whole meal.
- Crispy toppings like roasted chana, murmura, or peanuts should always go into a small zip-lock bag and be added just before eating.
Rule 4: Choose the Right Ingredients for Meal Prep
Some ingredients are natural survivors. Others deteriorate fast. Knowing the difference makes your five-day plan much more realistic.
| ✅ Meal Prep Friendly | ❌ Add Fresh Only |
| Brown rice, quinoa, millets | Cucumber slices (after day 2) |
| Roasted vegetables | Dressed salads |
| Boiled eggs, grilled chicken | Avocado (browns quickly) |
| Chana, rajma, lentils (cooked) | Fried or crispy items |
| Paneer (grilled or baked) | Bread / roti (goes rubbery) |
| Roasted sweet potato | Fresh herbs like coriander |
Rule 5: The Right Container Makes All the Difference
Not all lunch boxes are created equal. Here is what to look for:
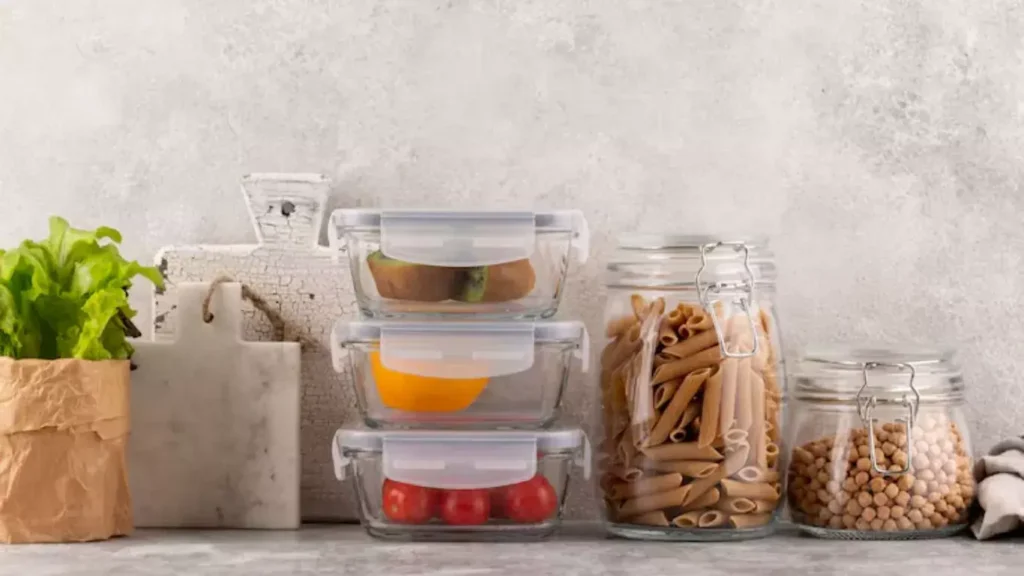
- Glass containers with airtight lids are the gold standard. They do not absorb smells, do not stain, and keep food fresher longer.
- Bento boxes with multiple sections are ideal for Indian lunches because you can separate dry roti from wet sabzi without needing extra packaging.
- Steel dabbas are great for short-term storage (1 to 2 days) but can let air in over time.
- Avoid flimsy plastic containers. They seal poorly and chemicals can leach into food when reheated.
| 💡 Nudge Tip Invest in one good set of glass containers with snap-lock lids. They last for years and genuinely improve how long your food stays fresh. Think of it as a one-time kitchen upgrade, not an expense. |
Rule 6: Moisture Barriers Are Your Best Friends
If you want to be extra smart about it, use simple moisture barriers between layers. These are things you probably already have at home:
- A paper towel or muslin cloth placed over leafy greens absorbs excess moisture and keeps them crisp. Remove before eating.
- Lettuce or large cabbage leaves can act as a natural barrier between wet and dry layers.
- A thin layer of olive oil brushed on cut vegetables slows oxidation and moisture release.
- Lime juice on cut fruits prevents browning and adds flavour.
A Simple 5-Day Lunch Prep Plan (Indian Edition)
Here is an example of how a whole week’s worth of lunches can come together in under two hours on a Sunday:
- Cook a big batch of brown rice or millets and store in one large container.
- Roast two trays of mixed vegetables (broccoli, capsicum, sweet potato) with cumin and olive oil.
- Boil a pot of chana or rajma with basic spices.
- Make a small jar of green chutney or a dressing (keep separate).
- Wash and dry your salad greens and store with a paper towel in a container.
- Each morning, assemble your box in five minutes: grains at the base, sabzi or chana on top, fresh salad in a separate section, dressing on the side.
This way, the prepped components stay fresh for four to five days and nothing goes soggy because nothing is combined until eating time.
Quick Recap: The No-Soggy Lunch Checklist
- Cool food completely before sealing containers
- Layer from heavy grains at the bottom to fresh ingredients on top
- Keep dressings, raita, and chutney in separate small containers
- Use bento boxes or multi-section containers
- Add crispy toppings only right before eating
- Use paper towels or natural barriers between wet and dry layers
- Assemble wraps and sandwiches fresh, not in advance
Meal prep is not about making your life harder. It is about making your week simpler so that eating well becomes something that just happens automatically, without you having to think about it every afternoon.
Once you crack your storage system, it gets easier every week. You will spend less time panicking over what to eat and more time actually enjoying food that makes you feel good.
Start small. Prep three days. See how it feels. Then build from there.
That’s the Nudge way — small steps, real progress, no pressure.
Explore More on Nudge
- 5 Easy High-Protein Indian Breakfasts You Can Prep the Night Before
- Healthy Food Swaps That Don’t Compromise on Taste
- The Beginner’s Guide to Reading Nutrition Labels in India
NUDGE — Wellness that fits your real life.
Leave a Reply